Building a Cypherium mining rig
Our guides
Get started
This guide aims to assist with the build of your first Cypherium mining rig, note that this is not a build log it’s just a guide to help you identify the components you need and some things that require extra attention.
Let’s start with some good news, the components required to build a Cypherium mining rig are pretty much the same as those of an Ethereum mining rig, the part where they differ is the software (Linux OS and the actual miner program), so let’s get started.
1. Mining hardware components
Your new mining rig requires various components that we will briefly discuss in this section.
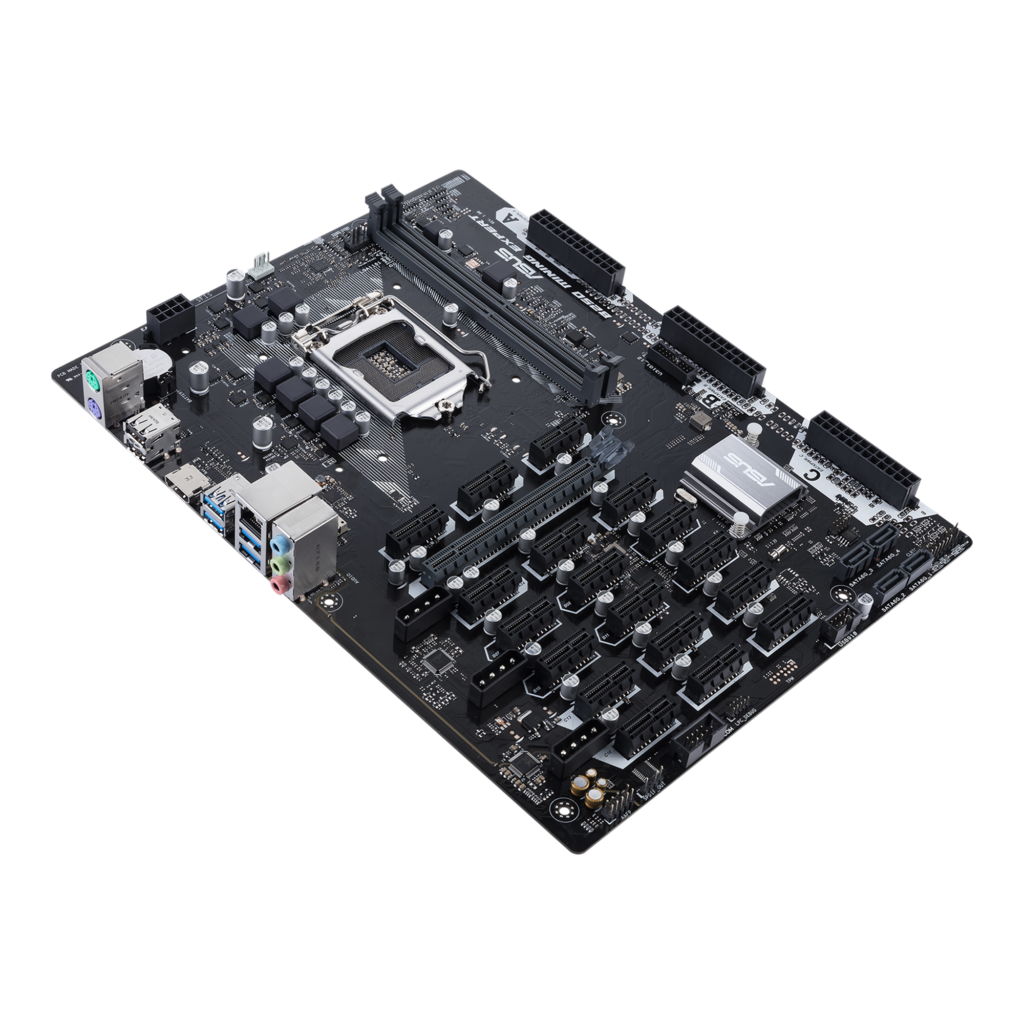
1.1 Motherboard
The motherboard is the big PCB that houses the CPU, system memory and connects to all the video cards through the PCIe, the main attribute of the used motherboard should be the number of PCIe connections it can support and for mining these connections are usually just PCIe x1 and not PCIe x16 (or PCIe x8) as it would be for Video Cards that are used to render graphics on a screen.
These x1 ports offer a much lower bandwidth but have a much smaller footprint thus more connectors can be placed on the motherboard allowing us to add more video cards.
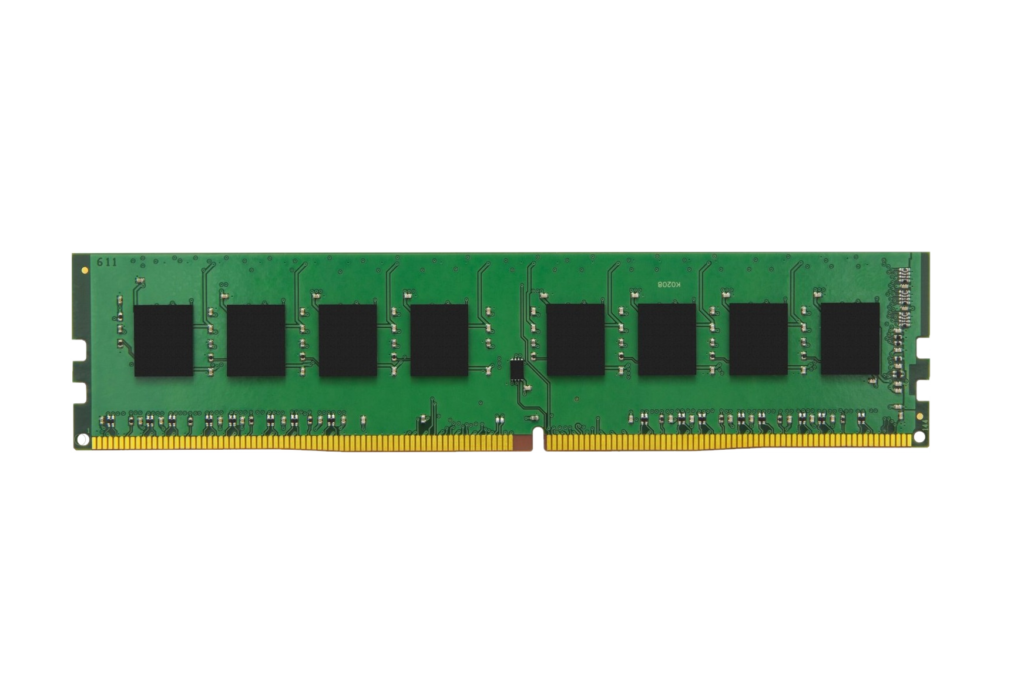
1.2 Ram memory
Just pick memory that is supported by the CPU and motherboard, 4GB us usually more than enough.
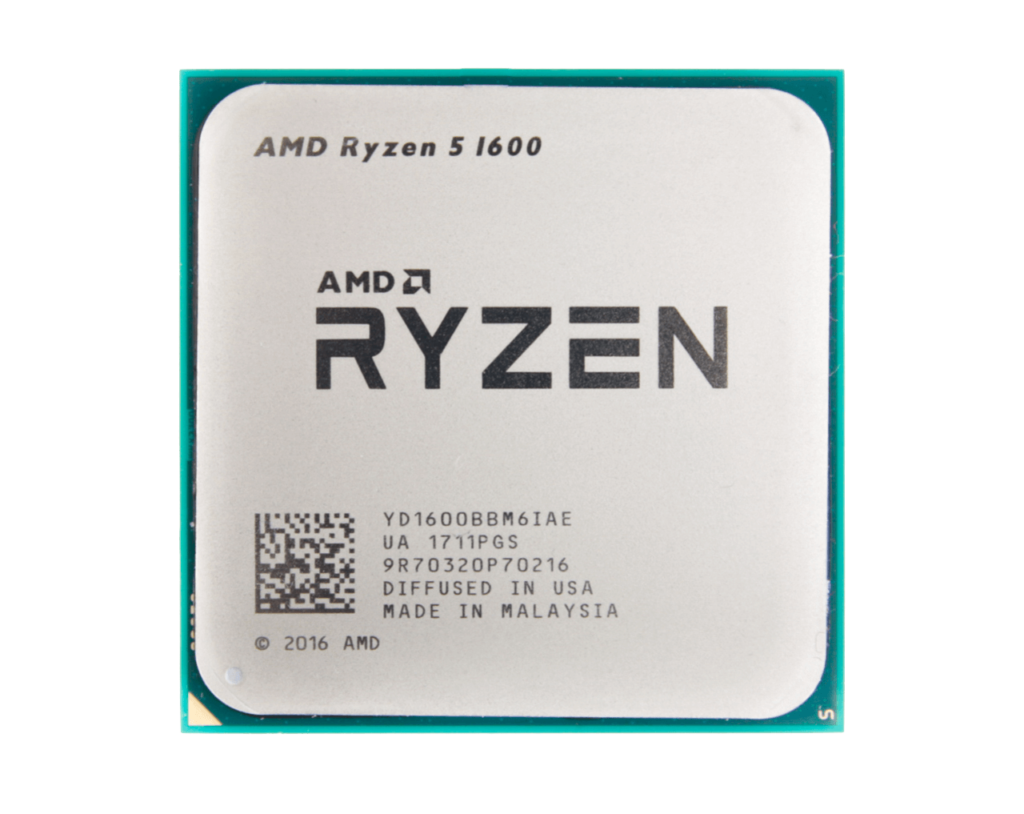
1.3 CPU
Get a cheap low-end CPU that is supported by the motherboard, remember that the PoW work is performed by the GPU’s on the Video Cards not by the CPU.
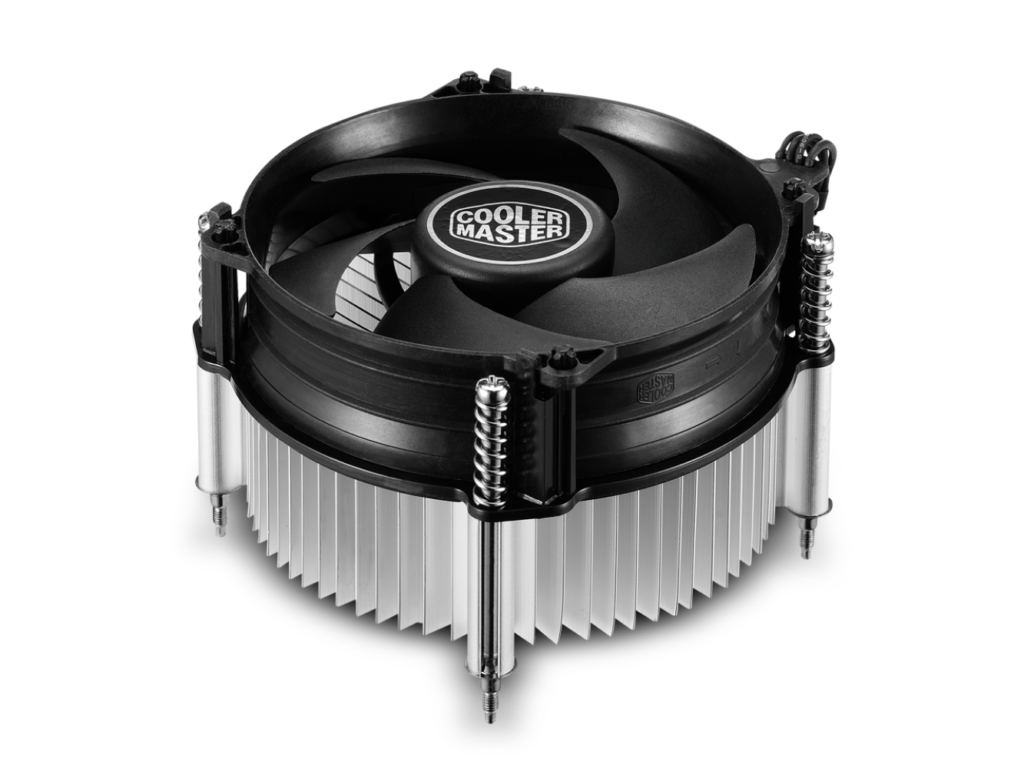
1.4 CPU Cooler
Get a proper (air cooled) heatsink for your CPU, since it doesn’t need to be a high end CPU you won’t need a gigantic tower cooler or water cooling.
1.5 Video card
The Video Card (also referred to as GPU or Graphical Processing Unit) can be considered the most important part of any Ethash (Cypherium uses Ethash as its PoW algorithm) mining rig since the Video Card is responsible for the heavy lifting so in general having more Video Cards means more hash power.
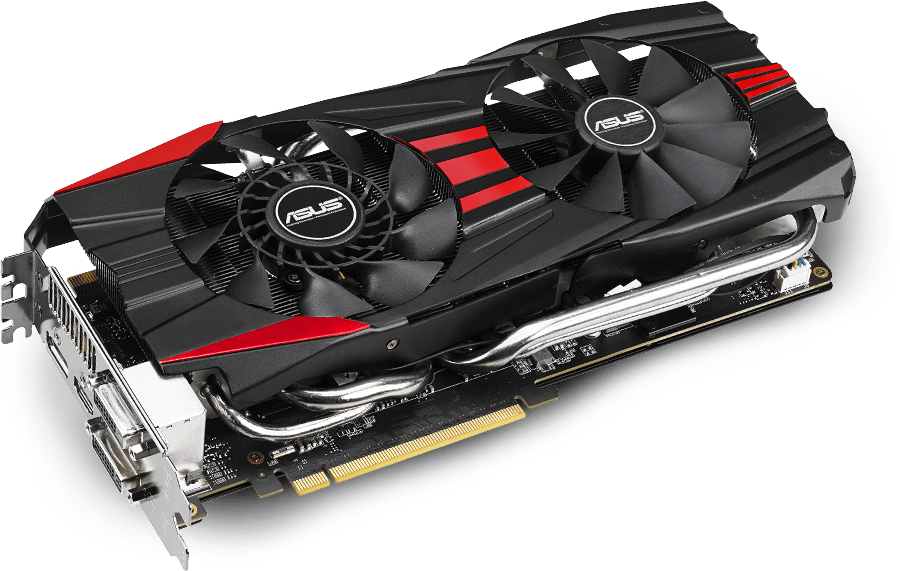
What GPU (video card) should you get?
The main point is that you want a high hash rate with low power consumption so you will need to find the sweet spot between power consumption and hash-rate (and a supplier who actually has these cards in stock.) The good news is that there are several charts online that compare Ethash hash rate and power consumption for different video cards, these are updated regularly to include the latest cards.
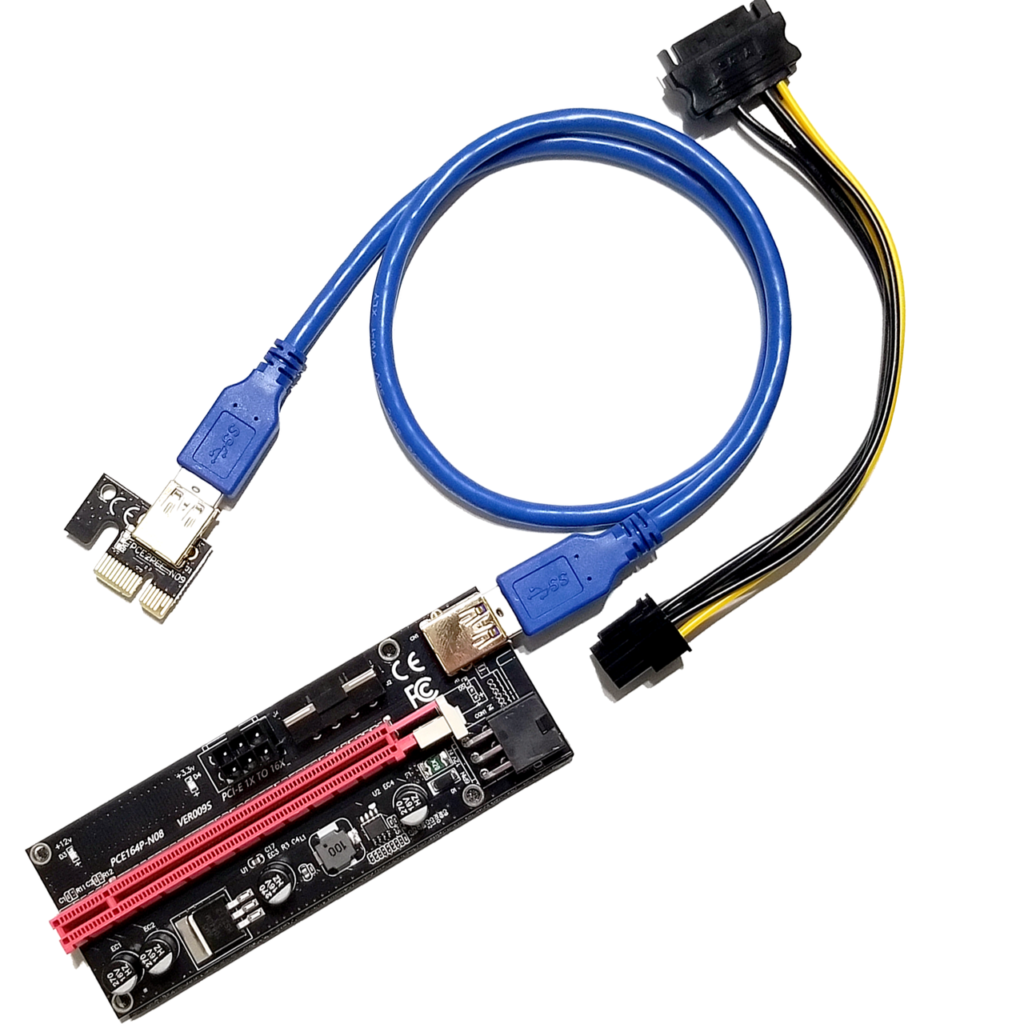
1.6 Powered risers
As you might have noticed, it’s not possible to cram allot of card on a standard motherboard, and its physically impossible to insert video cards that physically require a wide x8 or x16 slot in a x1 slot so we need some kind of adapter to make this possible and this is where Risers come in.
Risers are small adapter boards (insulative foam on the bottom) that contain a PCIe x16 slot, a power connector (to supply the card with the power it would normally draw from the motherboard) and a data connector (usually a USB connector) the other end consists of a PCIe 1x adapter card that plugs in the motherboards PCIe 1x slot
The Powered riser has a couple of functions:
- Physically relocate the card.
- Supply (basic) power to the card (the card itself also has power connectors that will need to be connected as well)
- Convert PCIe x16 (some cards use x8) to PCIe x1
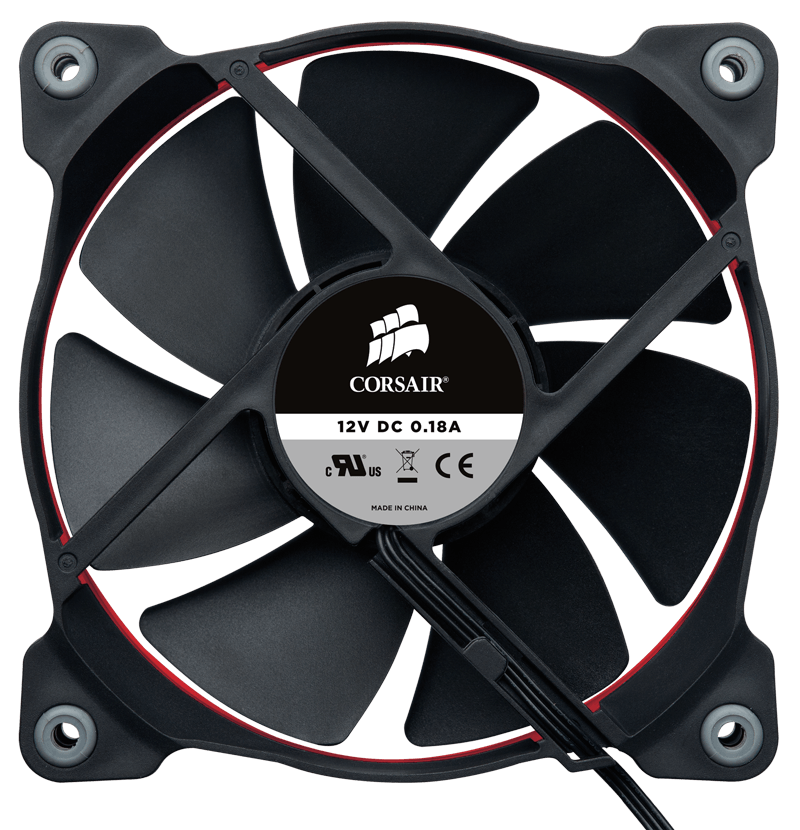
1.7 Fans
You should provide ample cooling for the video cards, make sure the mining rig frame allows you to place (120mm or larger) fans in front or back of the video cards, this will help to keep the temperatures under control.
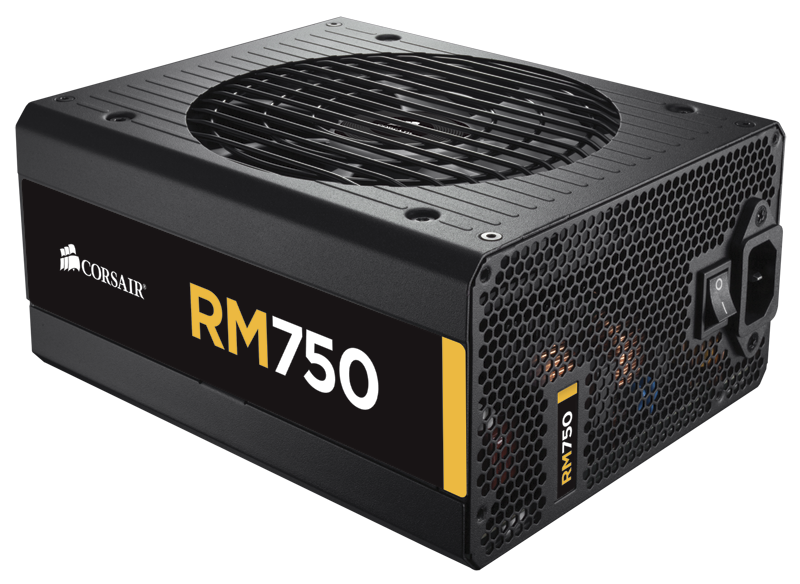
1.8 Power
Another major part of your mining rig will be its power supply (or supplies), a mining rig can have a single power supply or it can have a couple, It all depends on the number of video cards you plan on using and their required power.
A normal ATX PSU (the one you can get for your normal PC) is available in several wattages where 1600 is the current maximum (there might be bigger ones) however, bigger PSU’s tend to be a lot more expensive then smaller ones so you could consider using two “lighter” PSU’s and controlling them with a so called power splitter cable (where the on/off signal line from the motherboard is split and forwarded to both PSU’s)
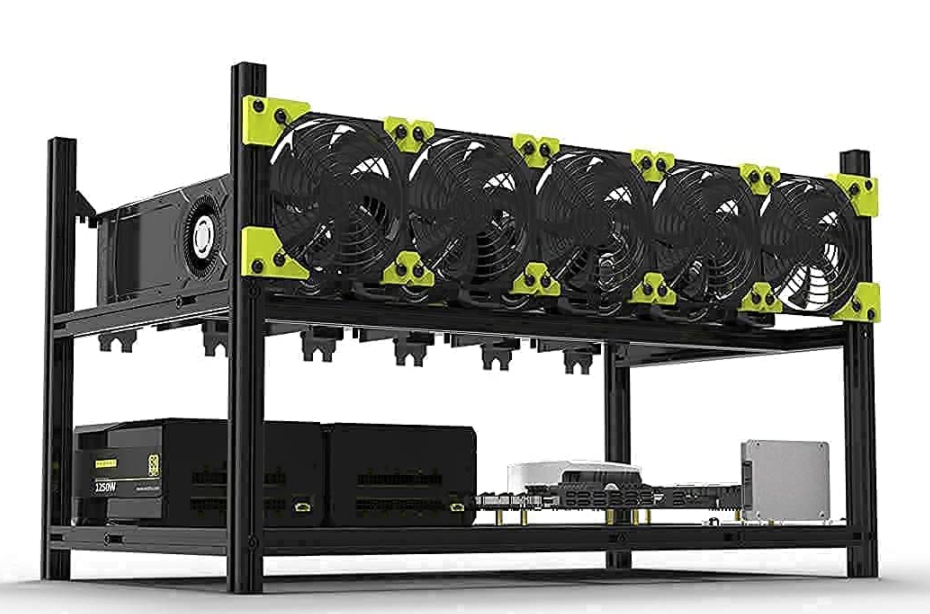
1.9 Mining rig frame
You will need some structure to mount all of your components onto, this is the “frame” and indeed its nothing more than a set of square aluminum profiles that bolt together in order to form a frame allowing you to bolt down all of your components, when selecting a frame make sure to:
- Get a complete kit, don’t bother with cutting pieces to size and tapping screw holes etc.
Unless you know your stuff - Make sure that the frame is large enough for the number of video cards you are planning to use
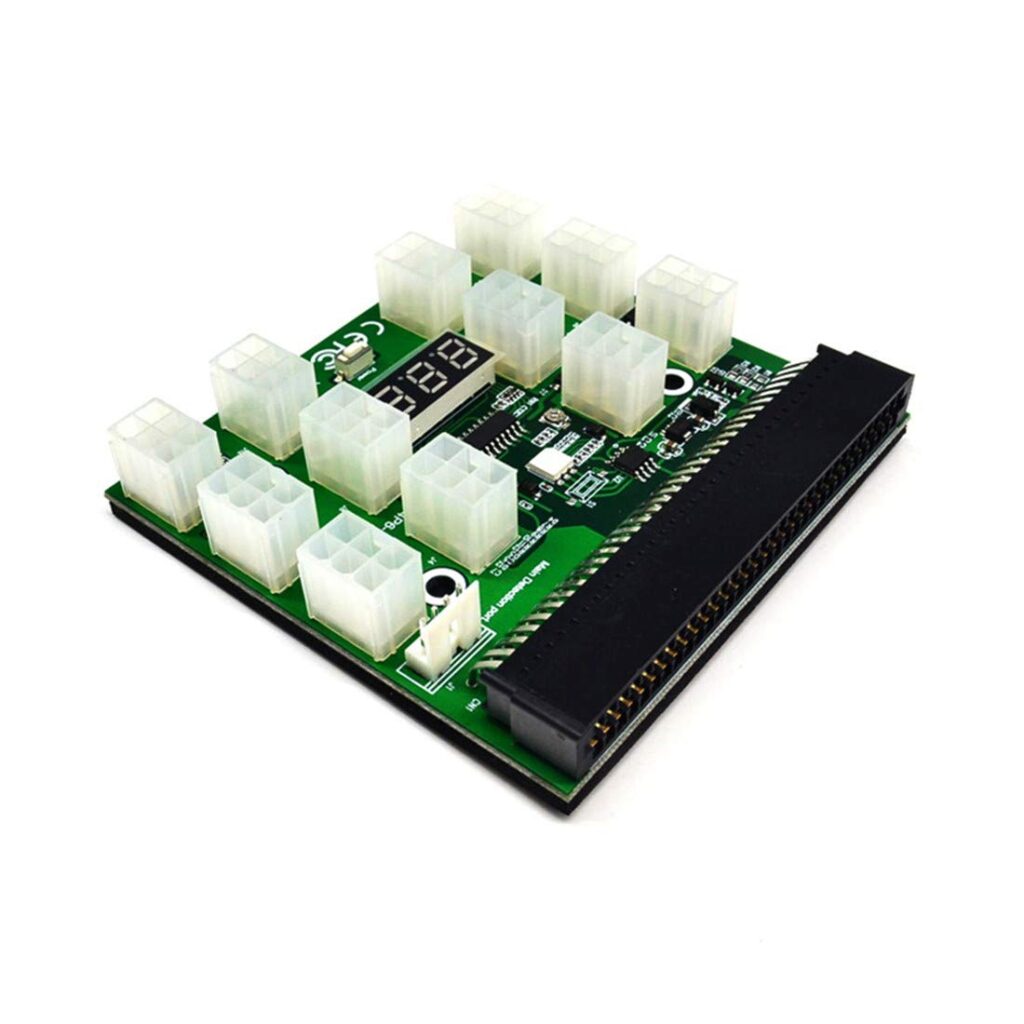
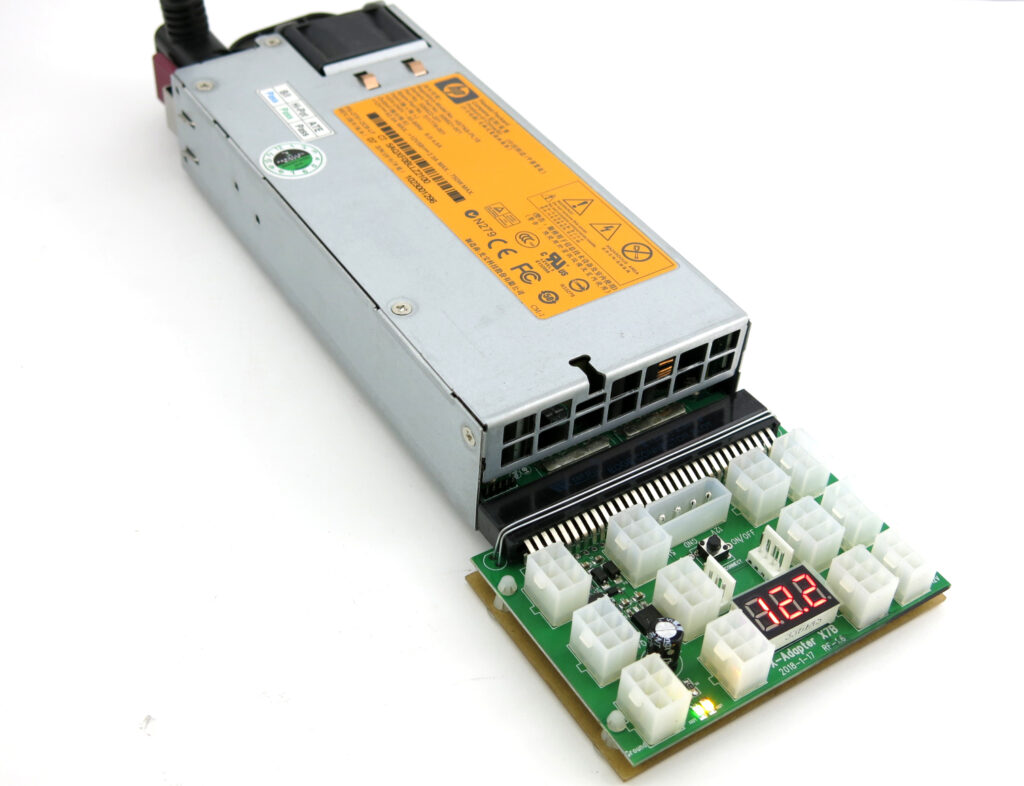
- Make sure there is room for the number of PSUs you want to use (some frames have multiple ATX mounting holes) if you decide to use server PSUs you might need to get a bit creative in terms of mounting/securing them to your frame (they come in different shapes and sizes) just be sure to avoid exposed contacts etc.
Note that PSU’s also require breathing room (they can get warm as well) - Make sure there is an option to mount case fans (120mm or more) in the front or back of your video cards in order to provide adequate cooling
1.10 Cables
In order to provide your cards and motherboard with power you will probably need to get some extra cables (a regular ATX PSU does provide cables however that might not be enough) also consider the fact that your mining rig may span larger component distances than a regular PC so you might need longer cables or extension cables.
1.11 Storage
In order to install the Linux based operating system and the miner (including downloading the blockchains) you will need storage, a simple 250GB (or larger) SATA SSD would do fine.
1.12 Small material
In order to install the Linux based operating system and the miner (including downloading the blockchains) you will need storage, a simple 250GB (or larger) SATA SSD would do fine.
2. Assembly
Just a quick overview of how you could assemble your mining rig, depending on your components there might be some variations.
2.1 Frame assembly
The first thing you should to is assemble your frame, now make sure to get a nice kit for this so everything “fits” together properly, simply follow the instructions and bolt your frame together.
2.2 Motherboard installation
Now that the frame is properly assembled, it’s time to bolt your motherboard to the frame, make sure to use spacers (small brass standoffs that sit between the frame and the motherboard so it doesn’t short on the aluminum frame, these are usually supplied with a kit).
2.3 Install the CPU, CPU Cooler and Ram on the motherboard
After bolting the motherboard to the frame it’s time to install the CPU and CPU cooler on the motherboard, make sure to follow the instruction supplied by the motherboard vendor and the vendor of your cooler (don’t forget to peel away any protective plastic, and apply cooling paste if this not already present on the cooler) When installing RAM please make sure the orientation of the DIMM is correct before pushing it down and check the motherboard’s manual for the correct slot to populate (you only need a single DIMM)
2.4 Connect the SATA SSD
Connect the SATA SSD to the motherboard and PSU and make sure to secure (if possible bolt) the SSD to the frame.
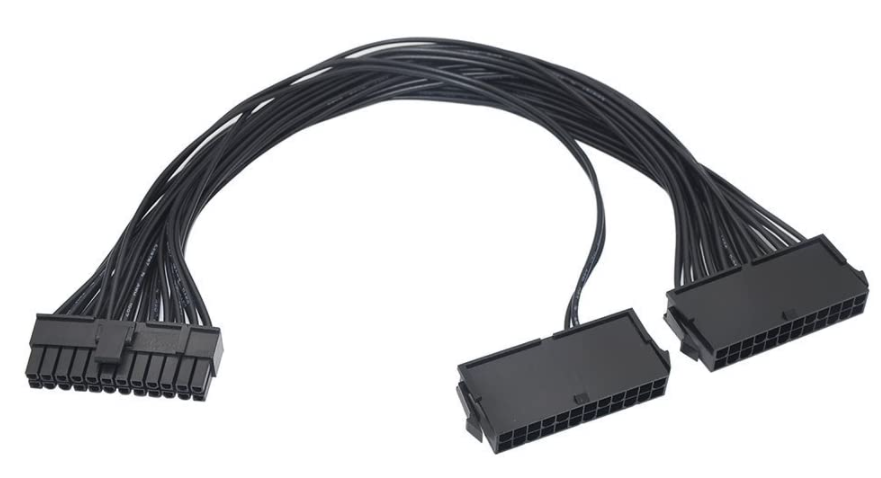
2.5 Add the PSU’s
Note that when you are using two PSU’s they can be linked together (they switch on/off at the same time) by using a “Dual PSU adapter” where the motherboard gets its power from One PSU and the on/off trigger line is split in two so it can be used to “control” a second PSU
Connect the 24Pin cable to the motherboard and any other power cable it might require.
2.6 Install the Video Cards and Powered Risers
Typically a powered riser can be directly connected to the video card (they snap on) however make sure that you get the orientation right and that if your powered riser has a latch (some of them do in order to secure it to the card) that it is in the right position (slide the latch back, insert the card and slide it forward in order to lock it)
Then install the card and bolt it to frame, note that some mining rigs have a bar that the Powered riser can rest on, in that case double check that the Powered riser has insulative foam on the underside in order to avoid a short circuit.
2.7 Install cooling fans
Make sure to install cooling fans in the front or back of the video cards (depending on the frame) and set them to run at full blast (if you decide to daisy chain them and control them by the motherboard make sure that the motherboard header can supply enough power, and to set the BIOS fan speed to full/max this avoids any intelligent temperature control)
3 Install a Linux based OS
After the rig has been assembled, it is time to install your favorite Linux distribution and proceed with the installation of the Cypherium mining software.